Project Manager
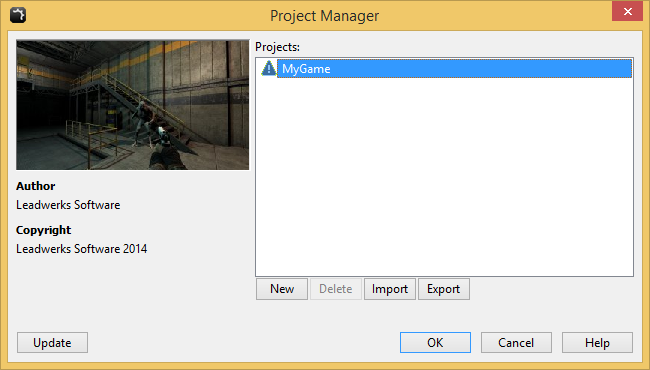
Creating Projects
To create a new project, simply click the New button.  This opens the New Project window.  This will show several available project templates, and include fields to enter the project name and other information.First you need to choose a project template. You can either chose a blank template, or a game template that sets up a specific type of game.Next, fill in the name of you new project and choose a suitable location. By default it will be placed in the  "Documents\Leadwerks\Projects" folder on your computer.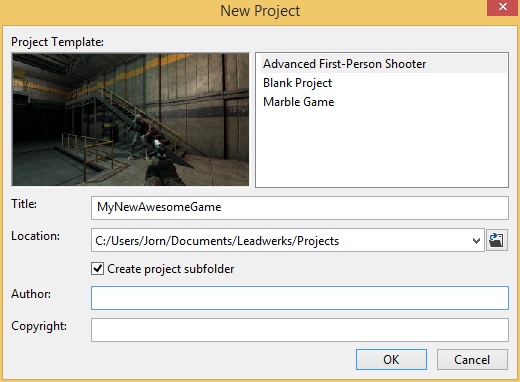
If the Create project subfolder checkbox is checked the project will be placed in a subfolder with the same name as the project when it is created. The author and copyright text fields are optional fields where you can enter your name and company information. Press the OK button to create the new project.Now that you have a new project you will see it listed in the project manager. If you double click on the project, the project's folder will be opened. The thumbnail for the project can be found in the folder and can be changed to a different image if you wish.
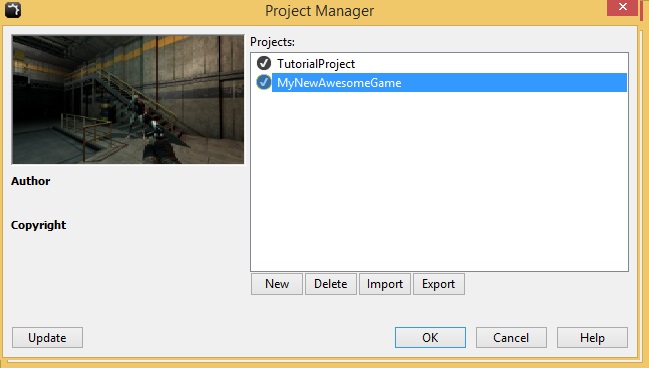
Deleting
To delete a project, select the project in the projects list and press the Delete button.  A confirmation dialog will appear to asks if you really want to delete it.  When you press the OK button the project will be removed from the projects list and its folder will be sent to the recycling bin on your computer.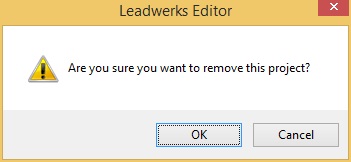
Updating Projects
Leadwerks is periodically updated with new features.  These updates will get automatically downloaded by Steam, but Leadwerks doesn't modify your project without permission.  To take advantage of new updates, you will want to keep your project up to date.  The projects list will display an icon indicating whether any new updates are available for your project.  Notice in the screenshot below there is a triangle in front of the TutorialProject. That means there is an update available for this project.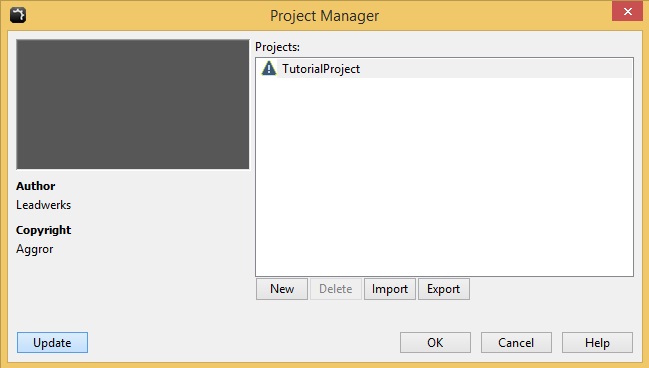
To update the project, just press the Update button in the project manager window.  Any files that have changed since your project was created will be copied into your project folder.  Afterwards you will get a message box indicating how many files were updated.
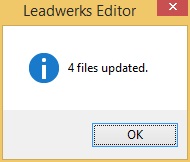
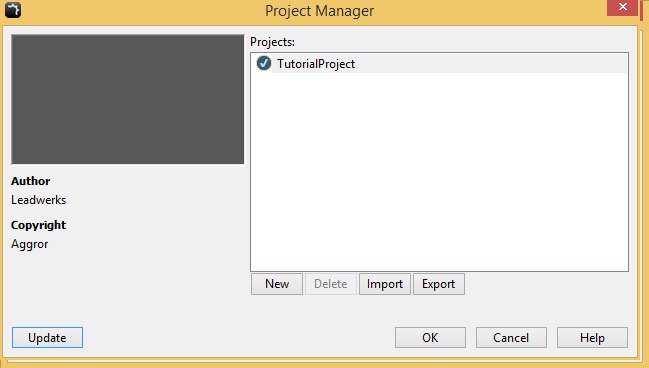
Now that the update has been applied, you can see that the TutorialProject displays an icon indicating that it is up to date.
When your project is updated, any files that get overwritten will be backed up automatically.  This is done by making a copy of your file in the same folder and adding the BAK extension at the end of the file name.  This will prevent you from losing any modifications you've made to scripts and other files.Because there is always a possibility of scripts receiving updates, its better to make a copy of a script you want to modify, rather than modifying the original file.