Lights
- Spot
- Point
- Directional
Creating Lights
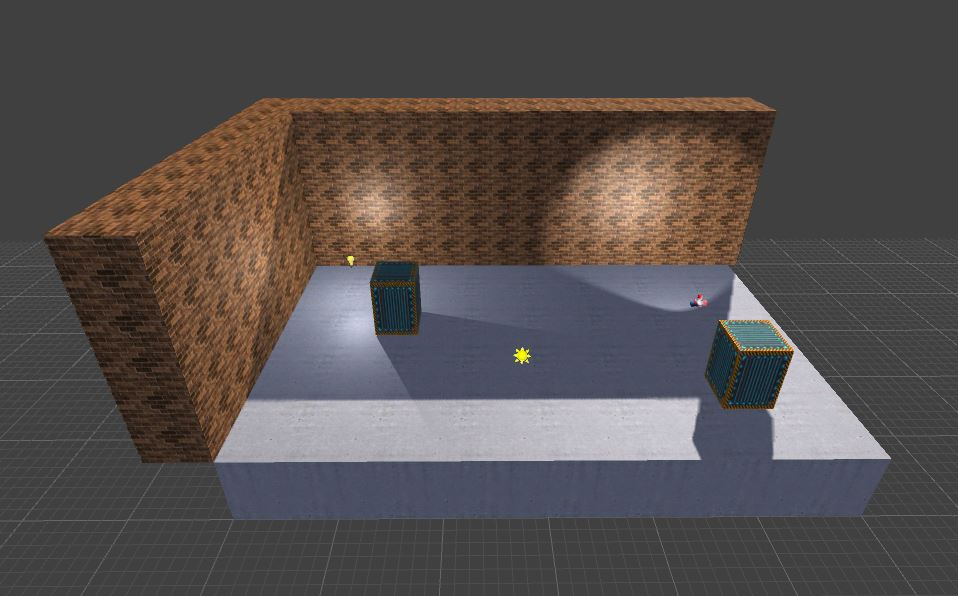
Before we take a look at what every light has to offer, let's first create some lights of our own. In the object bar on the left you can see three light buttons. These allow us to quickly select each of the available light types to create.
Select the Point Light button and click inside the "Top" viewport. Notice that a little placement gizmo appears where you clicked. We are going to place a point light right at the center of the scene. Make sure that you have moved your mouse cursor to the place where you want to place the light. Left-click to place the light. This is just the temporary placeholder.
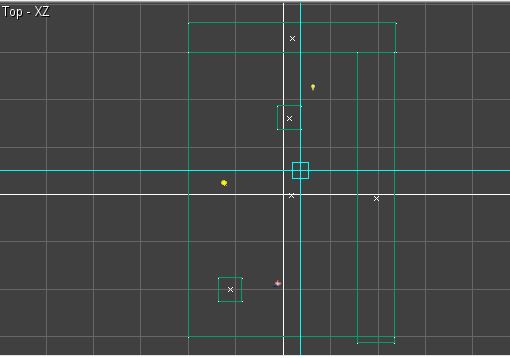
In either the "Left" or "Back" viewport, raise the position of the object creation widget so it appears above the floor. Press Enter on your keyboard to confirm the creation of the point light. Notice how the point light immediately lights up the surroundings. Alternatively, you can also right-click and select the Create popup menu.

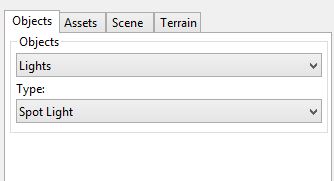
Now we are going to create a new spotlight. Instead of using the object bar buttons we can also select a light type in the objects panel. Select the Objects tab if it isn't already selected. In the Objects dropdown list, select "Lights". Now in the Type dropdown list select "Spotlight".
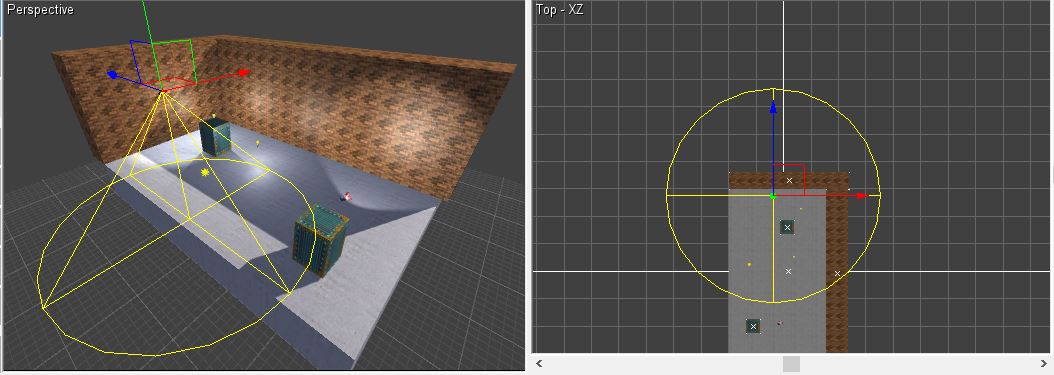
Place and create a spotlight right next to the smaller wall. By default the spot light aims in the forward direction (along the Z axis). Let's turn the spotlight so it is is aimed towards the ground. Press the Rotate X toolbar button once to rotate it 90 degrees so it points downwards.
Point Light Properties
The point light we just created in the center of the scene is a light that shines in all directions. Make sure the light you created is still selected and go to the Scene tab in the side panel. Notice how the properties editor now has an extra tab for light properties. Select the "Light" tab in the properties panel.
Change the radius property to 8 and notice how a larger part of the scene is now being lit by the point light. You can also see that the volume of the light has gotten bigger, as indicated by the yellow circles that appear surrounding the light when selected.
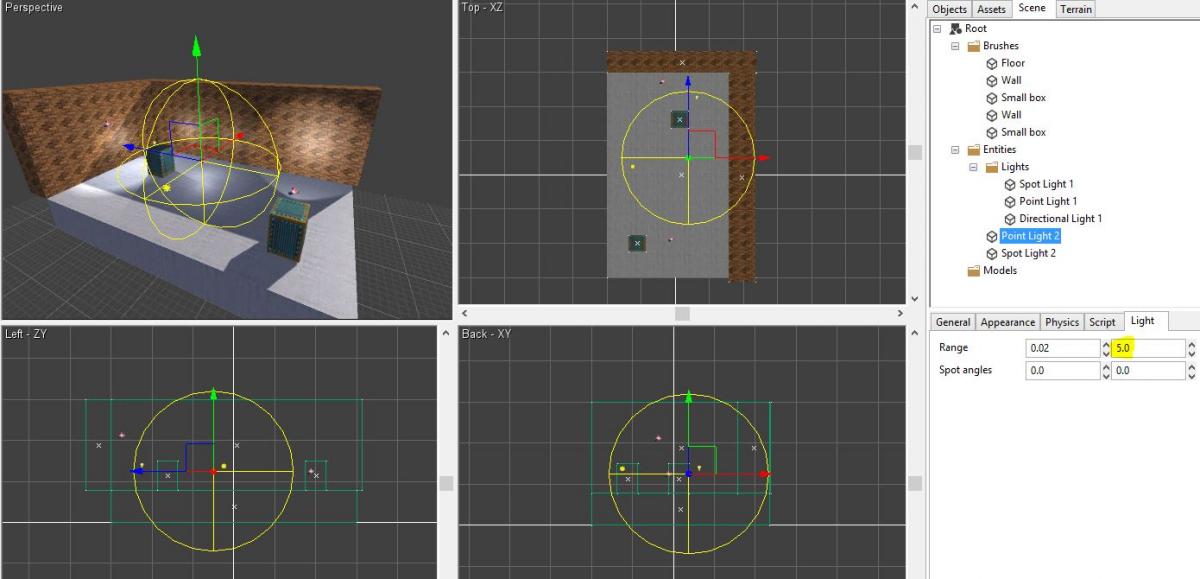
Both point and spot light have a ‘Range’ property to specify their intended reach.
Spot Light Properties
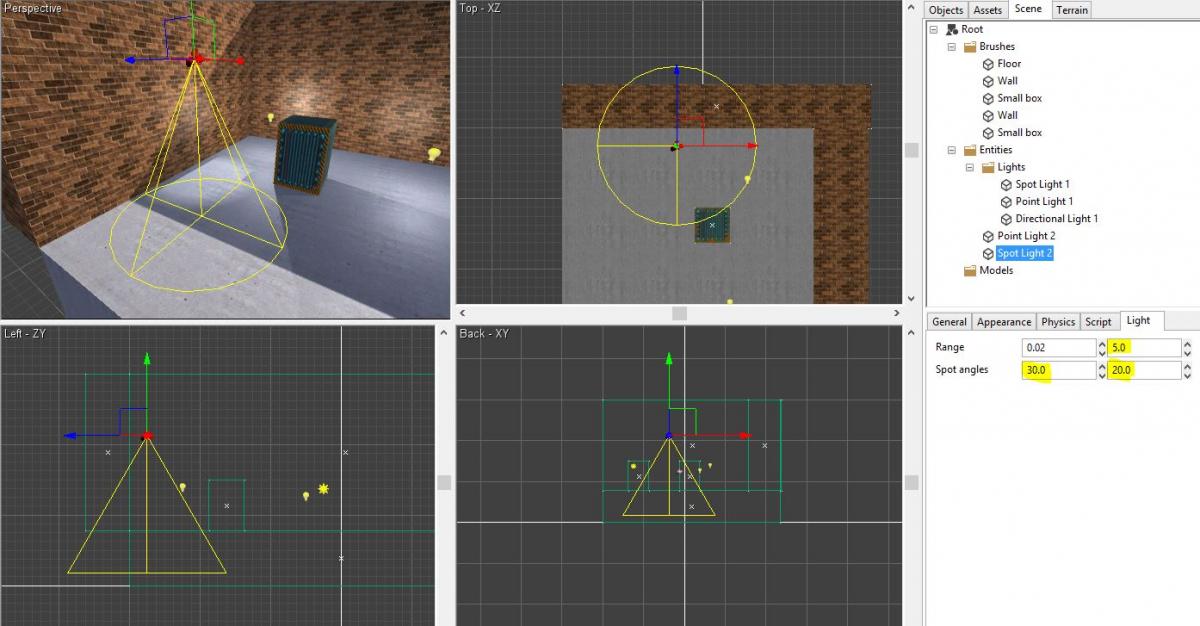
Now we are going to look at the spotlight’s properties. Spotlights shine in one direction and has a cone shaped volume. This makes them great for dramatic lighting, and they are also significantly faster to render than point lights. Select the spotlight we just created. Go to the properties editor and select the "Light" tab.
You will see the same options available that the point light had. The shape of your spot light is wide and too long for your scene. Let’s decrease the range to 5. The spotlight’s reach will then be a lot shorter and almost reach the ground, giving it a better look. Now change the spot angles to 30 and 20. The first value determines the outer radius of the light volume, and the second field determines the inner radius at which point the light reaches full brightness. The closer the inner radius is to the outer radius, the sharper the light will appear when it shines on an object.
Directional Light Properties
Directional lights light up the entire map and are typically used to simulate lighting from the sun or moon. Although a scene can have multiple directional lights, it is not a good idea to use more than one because they are fairly expensive to render. Select the directional light in the map. Go to the properties panel and select the "Light" tab.
Under the General tab, change the second component of the Rotation property to 10.0. This will rotate the light around the Y axis, and you will immediately see the results as the shadows in the scene change.
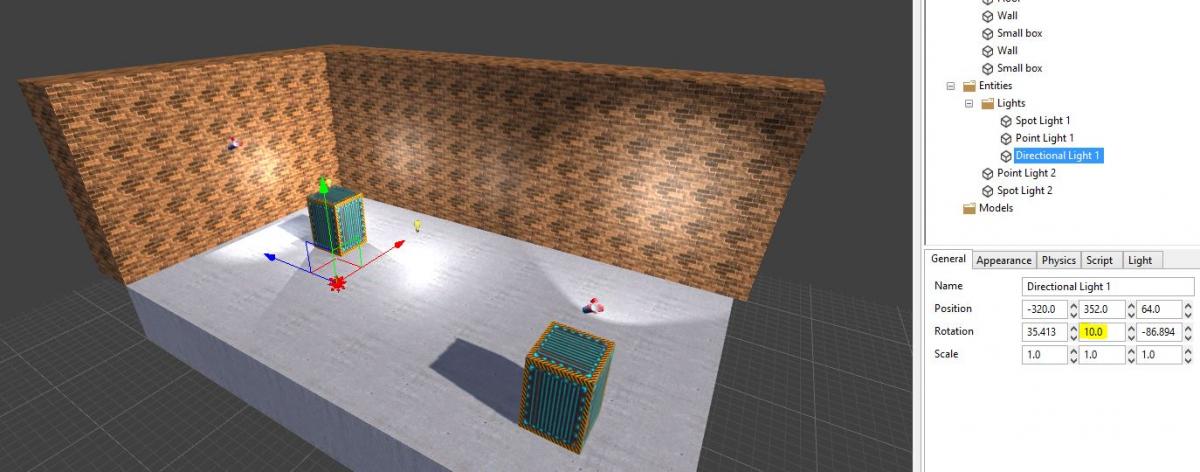
By now you have probably noticed that the point, spot, and directional light all have the same properties available, even if we didn't describe them for each light type. We decided early on that combining the light properties into a single tab made the most sense, even if some of the properties don't get used for every type of light. (The "Spot angles" property only affects spot lights, while the "Range" property only affects spot and point lights.)
Ambient Light
Ambient light is a global setting present in every single map. It influences how your scene looks and can have a big effect on mood and ambience. The ambient light can't be added or removed from the map, as it is part of the scene settings. To view the scene settings, select to the Scene tab in the side panel, then select the "Root" node in the scene tree. All scene settings are now visible in the properties panel below, including the ambient light level.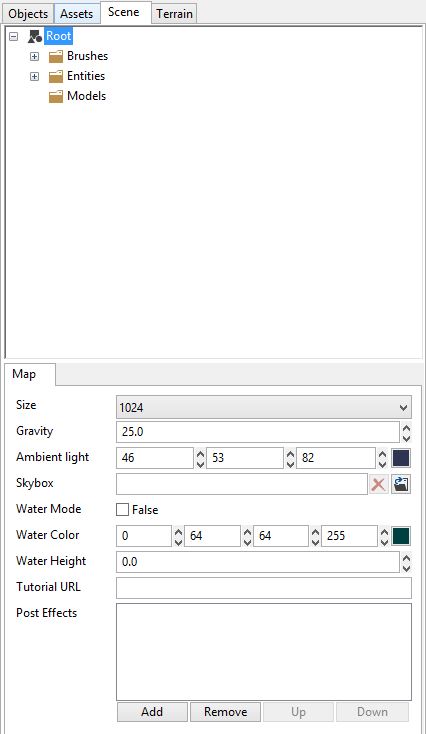
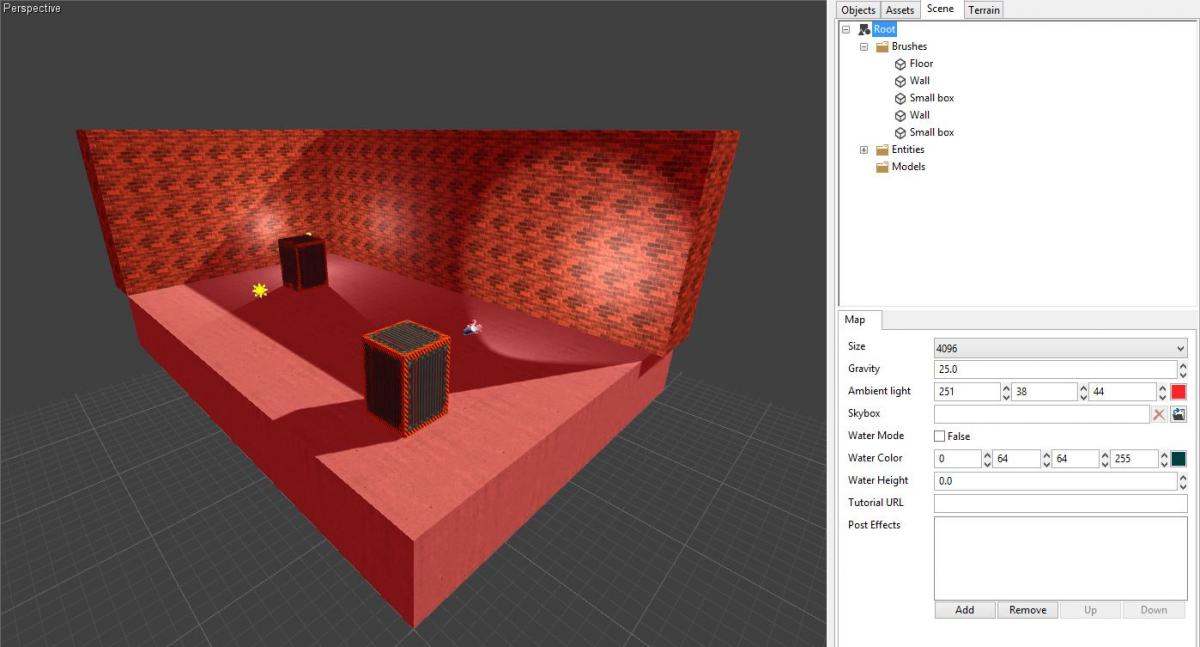
The ambient light color selector lets you choose the overall light color that is used for the ambient light in your scene. By default this is a medium dark blue, which is good for simulating shadows under most conditions. Changing the ambient light effects how your entire scene looks.In the screenshot below, the ambient light has been set to red. Notice how the entire scene has a reddish color.
Environment Probes
Environment probes can be used to provide more realistic ambient lighting and reflections to your scene. To create an environment probe, select the Effects > Environment Probe item in the objects panel. When the probe is created, its bounding box will be visible and it will immediately change the lighting in the surrounding area. Position and scale the probe so that it lies in the center of a room, with the edges of its bounding box just touching the inside of the room's walls. Select the Tools > Build Global Illumination menu item in the main window to rebuild ambient lighting. The "Probes" map in the tutorial project template shows an example with two rooms and two probes created. The environment probes add subtle details to the scene and make shadows outdoors appear brighter than indoors, as they are receiving more indirect lighting.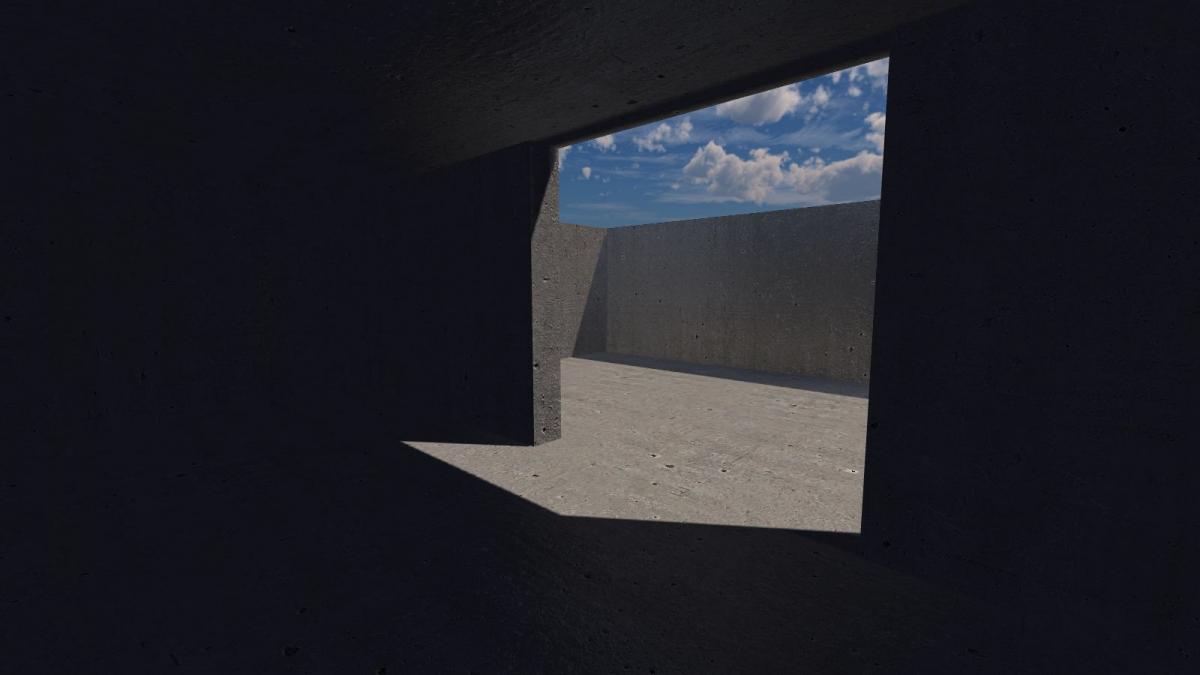
The appearance of environment probes can be controlled by modifying their diffuse and specular color properties. The diffuse color controls the amount of soft ambient light the probe emits. The specular color controls the brightness of the reflections the probe renders on the scene. You can also change the scene ambient light before or after building global illumination, to control the contrast and brightness of the effect. The sharpness of reflections is controlled by the gloss value of each rendered material, and can be changed in the material editor.
Volumetric Lighting
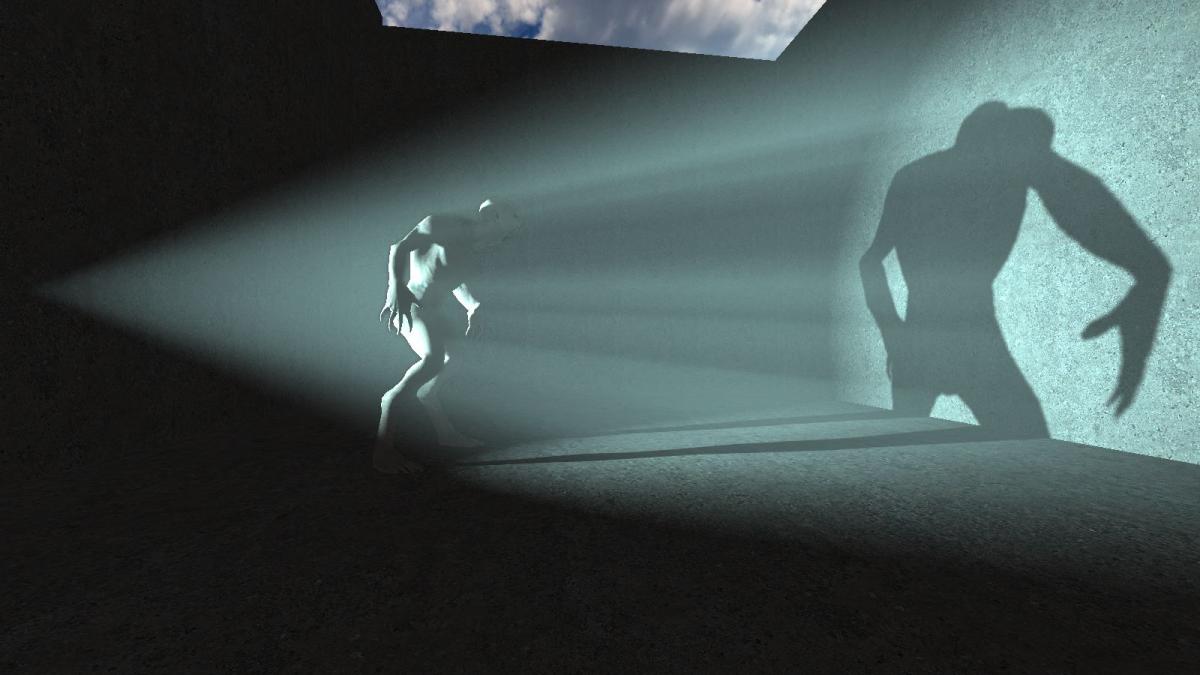
Any point or spot light in Leadwerks can emit a volumetric lighting effect. To enable this effect, simply select a light and increase the Volumetric effect value in the light properties. This effect can be somewhat expensive to render, so it is recommend that this be used only on key lights in the scene to add a dramatic effect.